Description
Simpson Strong-Tie STB2-62312R20 5/8" x 3-1/2" Zinc Strong-Bolt2 Wedge Anchor
Code listed for cracked and uncracked concrete, and masonry applications, the Strong-Bolt 2 wedge-type expansion anchor is an optimal choice for high-performance even in seismic and high-wind conditions. Dual undercutting embossments on each clip segment enable secondary expansion should a crack form and intersect the anchor location; this feature significantly increases the ability of Strong-Bolt 2 to carry load if the hole expands.
Features:
- Chamfered top designed to prevent mushrooming during installation
- Qualified for static and seismic loading conditions (seismic design categories A through F)
- Suitable for horizontal, vertical and overhead applications
- Qualified for minimum concrete thickness of 3 1/4", and lightweight concrete-over-steel deck thickness of 2 1/2" and 3 1/4"
- Standard (ANSI) fractional sizes: fits standard fixtures and installs with common drill bit and tool sizes
- Tested per ACI355.2 and AC193
Material:
- Zinc-plated carbon steel
Installation:
- Drill a hole in the base material using a carbide drill bit the same diameter as the nominal diameter of the anchor to be installed. Drill the hole to the specified minimum hole depth, and blow it clean using compressed air. (Overhead installations need not be blown clean.) Alternatively, drill the hole deep enough to accommodate embedment depth and dust from drilling.
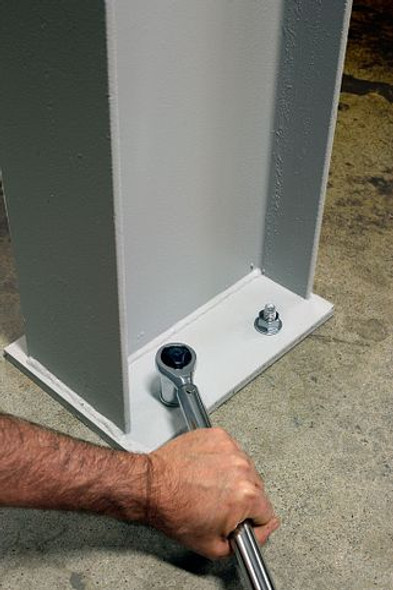
- Assemble the anchor with nut and washer so the top of the nut is flush with the top of the anchor. Place the anchor in the fixture, and drive it into the hole until the washer and nut are tight against the fixture.
- Tighten to the required installation torque.


