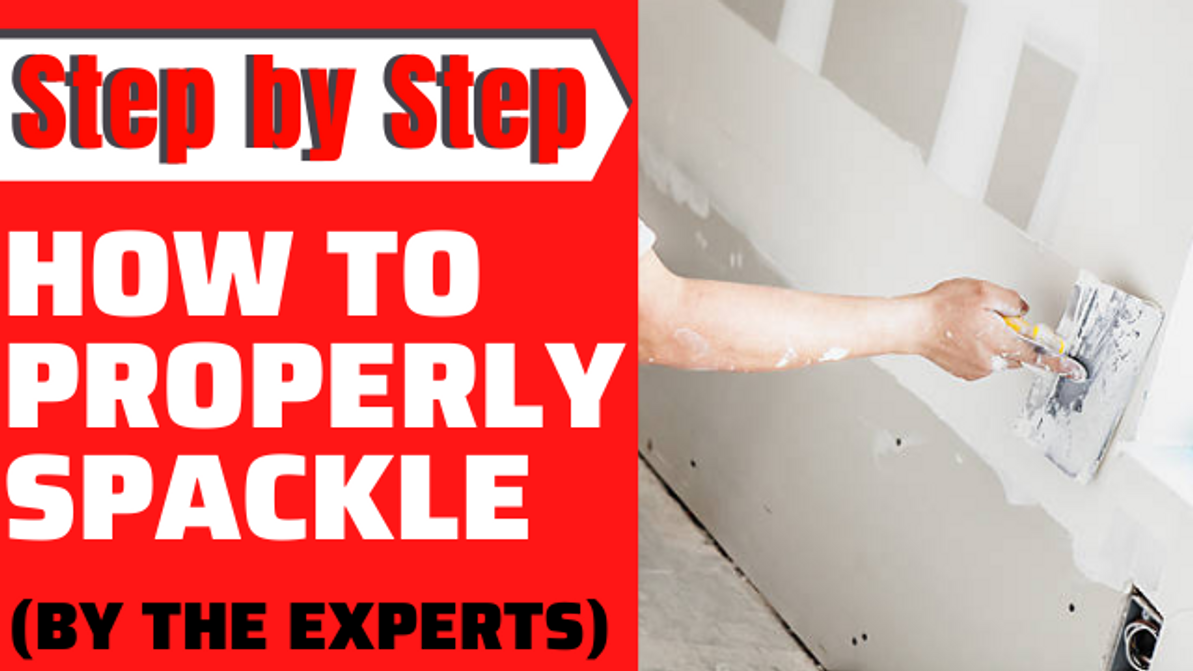
How To Properly Spackle - Step By Step Guide
Spackle. Putty. What’s it for? Well, chances are you already know. It’s to cover holes, dents, and imperfections in drywall before painting it so it looks flawless. Today we’re going to simply explain how to spackle properly. It’s quite easy and only requires a few supplies:
- Fine grit sandpaper (150 grit is great)
- Spackling compound
- Putty knife
- Clean cloth
Steps
- Prep the surface. Clean the area, sand around the imperfection, and wipe away any remaining dust and debris in the perimeter.
- Apply some spackle onto the putty knife and work it into the hole. If it’s a deeper hole, for example, from a screw or nail, try to get the putty deeper inside.
- Smoothe the surface of the spackle to be level with the wall by sliding the putty knife flat to the wall to scrape the excess. Do not let the spackle build up above the surface of the wall.
- After it has dried, you can do 2-3 more layers. Make sure each layer is dry before adding another one.
- Lightly sand the dried spackle flush to the wall. Don’t press too hard when sanding the spackle, this could result in a new indent in the spackle, making the whole process counterproductive.
- Lightly dampen the clean cloth and wipe down the area and voila!
Do this to all the holes in your drywall. Spackling works to seal a hole smoothly of up to 4 inches (10 cm). If it’s larger than 4 inches, it may require mesh or wire to add some support to the drywall patch.
Need more information on patching drywall with spackle? Contact our experts at Edmonton Fasteners and they’ll help you choose the right products and take the right steps. Thanks for stopping by - see you in our next post!
2020 Nov 5th
Recent Posts
-
Bissett is Universally Compatible, See Why and How
With Bissett's over 600 fasteners, you're bound to find the perfect fastener for your tool. You're n …2021 Mar 16th -
How To Choose Safety Gloves
We love healthy hands at Edmonton Fasteners. We’re not a skincare shop (clearly) but we do off …2021 Mar 8th -
Three Easy Home Fixes with Gorilla Glue
Gorilla Glue is a household name because of one reason: it works. We carry Gorilla Glue at Edmonton …2021 Feb 2nd


